Every week or so, check the bike frame for signs of wear. Before going for a ride, run through a few checks to reduce the chances of a mechanical failure: brakes that cease to work, a loose handlebar, a tire blowout, or slipping gears. The checks will help to avoid many of the accidents caused by equipment failures. Safety checks help the management of a bike, allowing the timely replacement of parts or the completion of non-urgent maintenance work.
Making frame checks
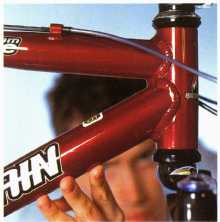
1. Inspect the frame every week or so and look for metal fatigue. Run a finger under the down tube where it joins the head tube. A ripple in the tube’s surface could lead to a break. Check around the area where the chain-stay bridge is brazed to the chain-stays, particularly on a steel frame. Cracks may form in the metal here because of the heat of the brazing process.
2. Monitor all the parts that are riveted to an aluminum frame, especially the cable guides or the front derailleur hangers. The rivets form potentially weak areas where stresses in the metal may develop into cracks.

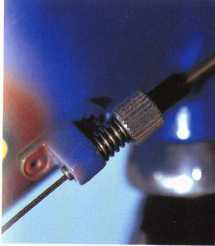
3. Examine the slot under the seat-post binder bolt, since it can crack on any frame. The slot breaks the seat tube's integrity so that stress can cause a split. To minimize the risk that this will happen, always fit a seat post that exactly matches the tube's inner diameter.
Making pre-ride checks
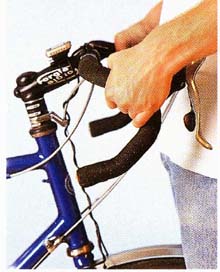
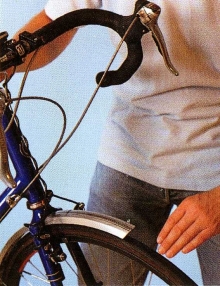
1. Hold the front wheel firmly between your legs and try to turn the handlebar from one side to the other. If there is any movement, check the stem and steerer bolts and tighten them if necessary.
Try twisting the bar upward to look for rotational movement.
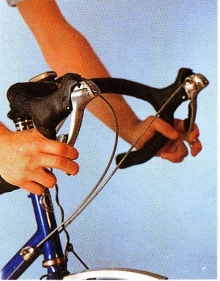
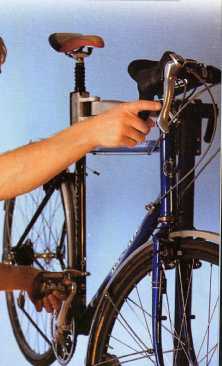
2. Apply each brake fully and push the bike forward. If the lever pulls to the bar before the brake stops a wheel from rotating, adjust the travel or replace the pads. Apply the front brake. Tighten the headset if you feel any play in the steerer assembly.
3. Lift the bike, slowly spin the wheels, and check the tires for cuts, splits, or bulges. If you find a bulge, or are in any doubt, replace the tire. Check the tire pressure. Check that all quick-release levers are in the locked position, and wheel nuts are tight.
4. Run through the gears and make sure that they are properly adjusted. Gears that will not mesh properly after you change them can be distracting and, if you look down to see what is wrong, potentially dangerous. If the gears are correctly adjusted and the chain is still jumping, check for a stiff link.